
Perhaps you’ve heard of vi, vim, and neovim multiple times—how great and efficient it is. And during one of those times, you decide to install it, only to open a document in the terminal that doesn’t even look good, you don’t know how to type, and worst of all, you don’t even know how to exit the editor.
A common joke goes:
I use Neovim because I don’t know how to close it.
There are several ways to approach Neovim, whether by installing the app and tailoring it to your liking, or by installing a pre-configured distribution. Among the different distributions, we have the following:
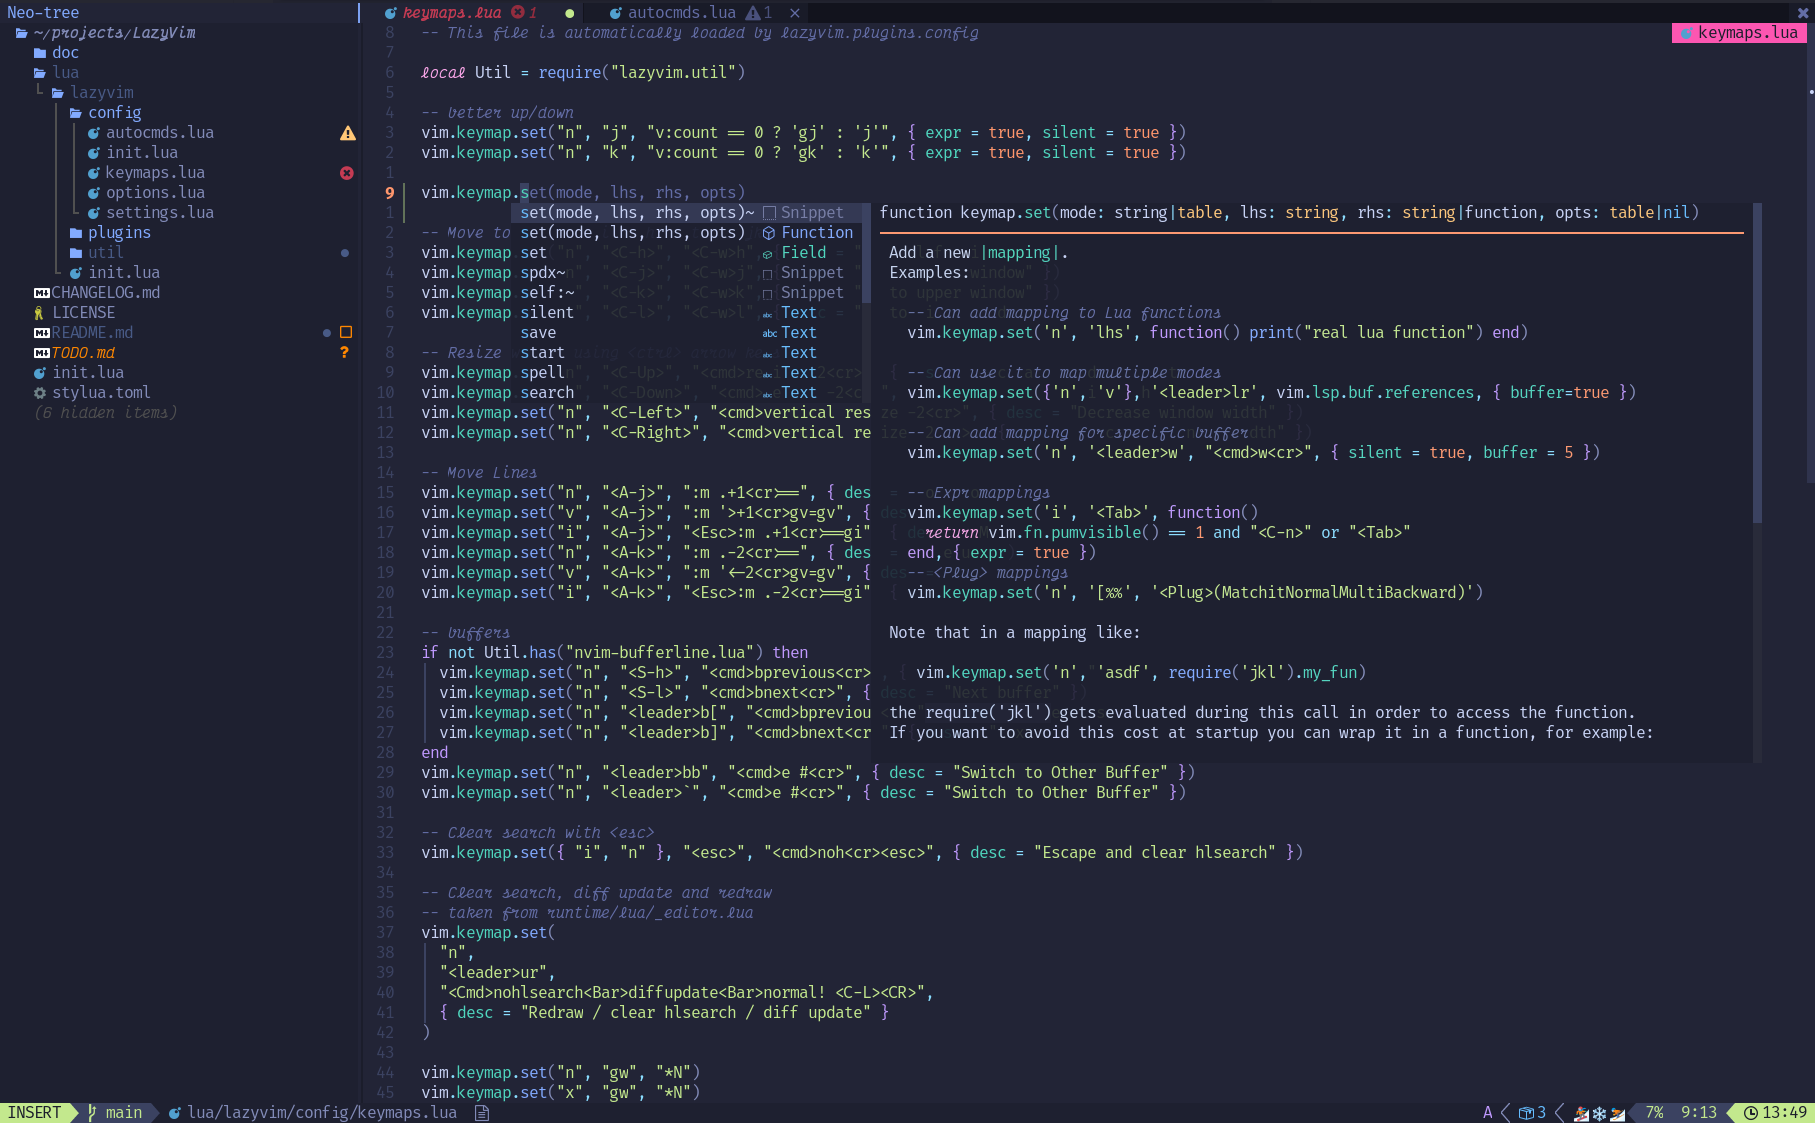
LazyVim #
NVChad #
LunarVim #
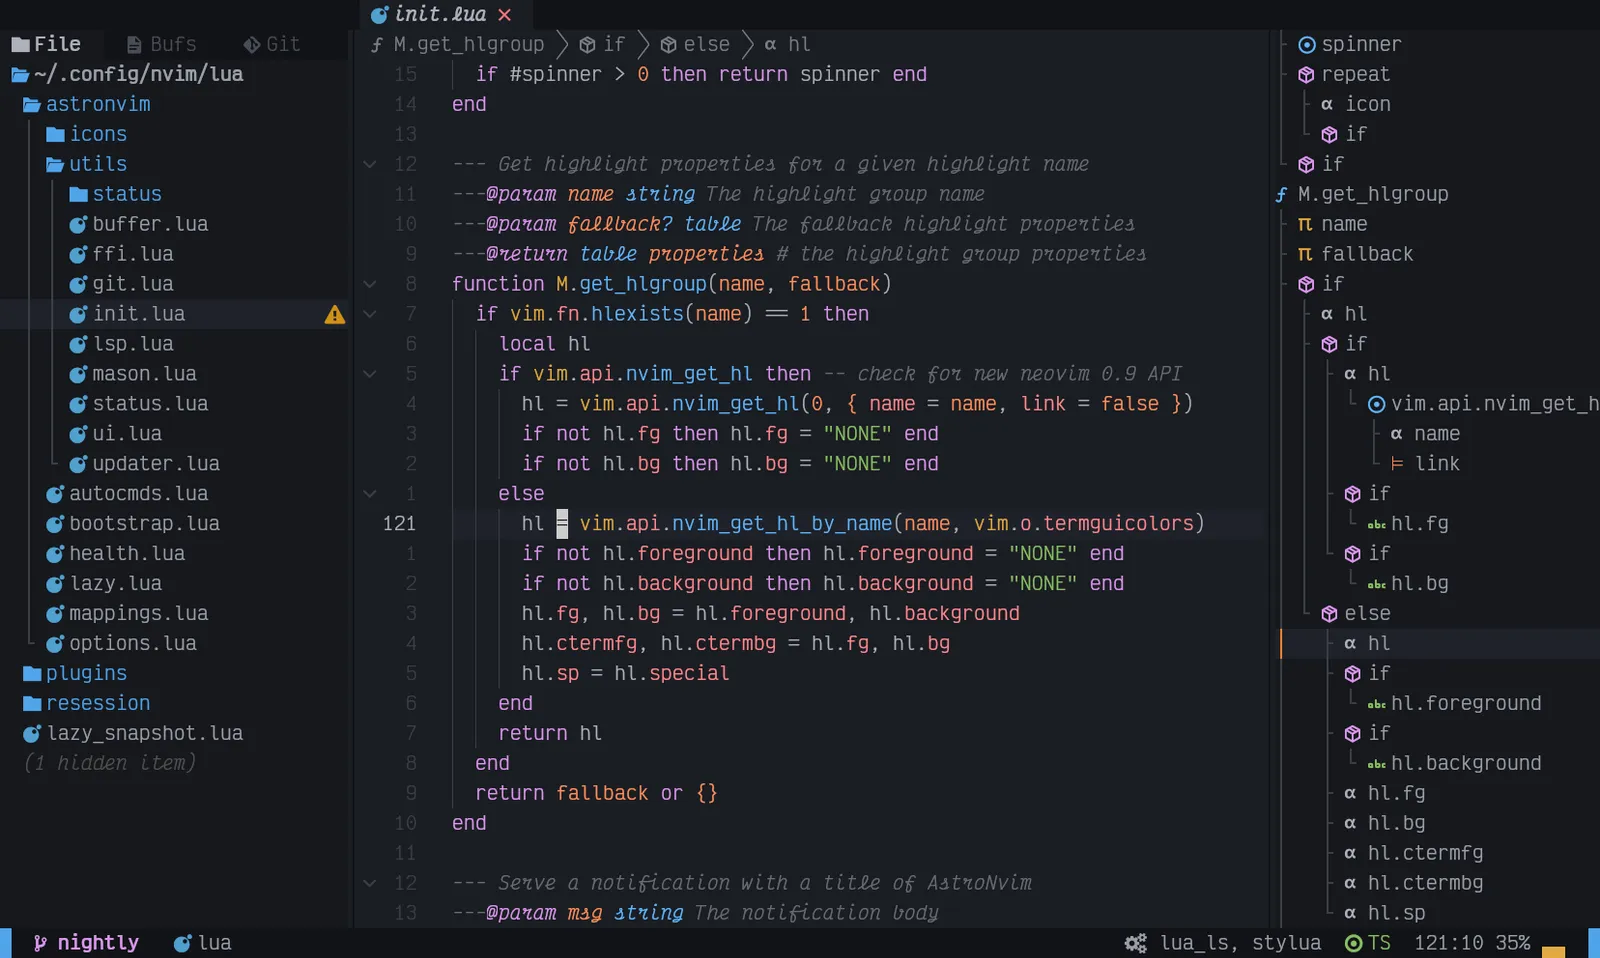
AstroVim #
They all promise the same thing: minimal configuration and an out-of-the-box start. But they all fail at one thing:
You don’t know how to use Vim, so it doesn’t matter if they come pre-configured.
What we want to ensure is that we actually ease the entry into using Neovim without failing.
Why Neovim? #
It’s a valid question. With editors as good as VS Code and its derivatives, Zed, and PyCharm, it seems like using an editor in the terminal makes no sense at all. But let’s break it down.
Neovim is a modal editor and a fork of Vim, meaning it inherited its core features.
Modal means that it has several modes.
In a traditional editor, if you press the d key, you type a “d”. In Neovim, it depends on which mode you are in. This is the biggest hurdle at first, but once you master it, it’s the reason why you’ll want to use it forever.
Ultimately, you want Neovim because you’re a geek, you love the terminal, efficiency, saving time, using the keyboard, and you adore customization.
To a greater or lesser extent, some of these things can also be achieved with other editors, especially if you use their Vim mode.
How to start without failing? #
The first thing you need to know is that Neovim is a modal editor, and it is vastly different from what you know. So my recommendation is NOT TO USE NEOVIM to learn Neovim.
Say what?
Exactly. The first step is to stick with your favorite editor and turn it into a modal editor until it makes sense to you, and only then make the jump to Neovim.
VS Code and derivatives #
Use the VSCodeVim extension. VS Code might be the weakest editor to use in Vim mode, but it is enough to learn Vim motions.
Zed #
This editor would be my favorite if I didn’t use Neovim. You don’t need to install any extension to configure it in Vim mode, and this option works beautifully.
Just open the command palette with ctrl+shift+p and type workspace: toggle vim mode.
Alternatively, you can edit your global or project configuration file (JSON file) and add:
"vim_mode": truePyCharm #
This is the one I have the least info on, but I’ll leave the official link here.
Installing Neovim #
Even if you are not going to use it daily yet, install vanilla Neovim so you can use the Tutor mode.
The installation depends on your operating system. In any case, it’s best to check their official website to see how to install it for your system.
Arch and derivatives #
sudo pacman -S neovimUbuntu #
sudo apt install neovimFedora #
sudo dnf install neovimmacOS #
First install Homebrew if you don’t have it, and then run:
brew install neovimWindows #
You can download the binaries directly or use a package manager.
Winget #
winget install Neovim.NeovimChocolatey #
choco install neovimScoop #
scoop bucket add main
scoop install neovim
Tutor Mode #
Once installed, open a terminal and run:
nvimRight there, run :Tutor that’s a colon followed by the word Tutor with a capital “T”.
Follow the tutorial step by step. Don’t try to learn everything in one day; simply apply what you learn there to your regular editor. Within two weeks, it will all start making sense.
Modes in Neovim #
Don’t worry too much about understanding them perfectly right now; these descriptions will be brief. We will use Neovim to learn them even if you don’t use it for work just yet.
1. Normal Mode: Operations Center #
This is the default mode. When you open Neovim, you are here. It’s not for typing; it’s for moving and editing. Think of your fingers not as writers, but as code surgeons.
- How to use it: You move around using
h,j,k,l(instead of the arrow keys) or jump between whole words. - The trick: If you press
dd, you delete a whole line. If you pressu, you undo the last change. All without touching the mouse or reaching for the Backspace key.
2. Insert Mode: The Typewriter #
This is the mode you are used to in any other editor. Here, keys actually type text onto the screen.
- How to enter: From Normal Mode, press the
ikey (for Insert). - How to exit: This is the key to survival: press the
Esckey. Returning to Normal Mode should become your reflex action every time you finish typing a sentence.
3. Visual Mode: The Keyboard “Click and Drag” #
Used to select blocks of text. It’s the equivalent of holding down the left mouse click and dragging it across the screen, but done with absolute precision right from the keyboard.
- How to enter: From Normal Mode, press
v. As you move, you’ll see the text highlighted. - The trick: Once the text is selected, you can press
y(for yank) to copy it, ord(for delete) to remove it.
4. Command Mode: The Control Panel #
Allows you to execute direct commands to the editor.
- How to enter: From Normal Mode, type
:(colon). The cursor will move to the bottom of the screen. - The joke writes itself: To save you type
:w(write), to exit you type:q(quit), and to exit without saving the disasters you just made, you type:q!.
5. Terminal Mode: A Terminal Inside Your Editor #
Neovim allows you to open a real terminal inside one of its windows. This way, you don’t have to keep switching apps to run your tests or spin up your local server. Though personally, I use it sparingly since I manage my workflow with tmux.
- How to use it: It acts like a regular terminal, but requires a key combination (usually
Ctrl-\ Ctrl-n) to “detach” from it and return to managing the window in Normal Mode.
Installing LazyVim #
Requirements: #
- tree-sitter-cli and a C compiler (recommended to use tree-sitter)
- Git
- Neovim >= 0.11.2
- A Nerd Font
- LazyGit (optional)
- A terminal emulator with true color support:
- kitty
- wezterm
- alacritty
- ghostty
Everything above can be installed using your operating system’s package manager. Here are examples for Arch-based systems:
sudo pacman -S ghostty lazygit neovim tree-sitter-cli gitOn Arch-based distros, it’s highly likely you already have the compiler installed as it’s part of base-devel. Similarly, on macOS, it should already be installed. Other Linux distros might require an explicit installation:
Ubuntu #
sudo apt install build-essentialFedora #
sudo dnf groupinstall "Development Tools"Windows well… Homework assignment.
IMPORTANT!
If you already had Neovim installed, back up your files first.
Mac and Linux #
mv ~/.config/nvim{,.bak}Now clone the LazyVim starter repository:
git clone https://github.com/LazyVim/starter ~/.config/nvimRemove the .git directory:
rm -rf ~/.config/nvim/.gitWindows #
Homework assignment.
Done! Now just run:
nvimAnd now, since you’ve gone through the Tutor, you should be able to use it regularly. It’s impossible to learn everything at once, so enjoy the journey.
The next step is to check out the LazyVim documentation.